
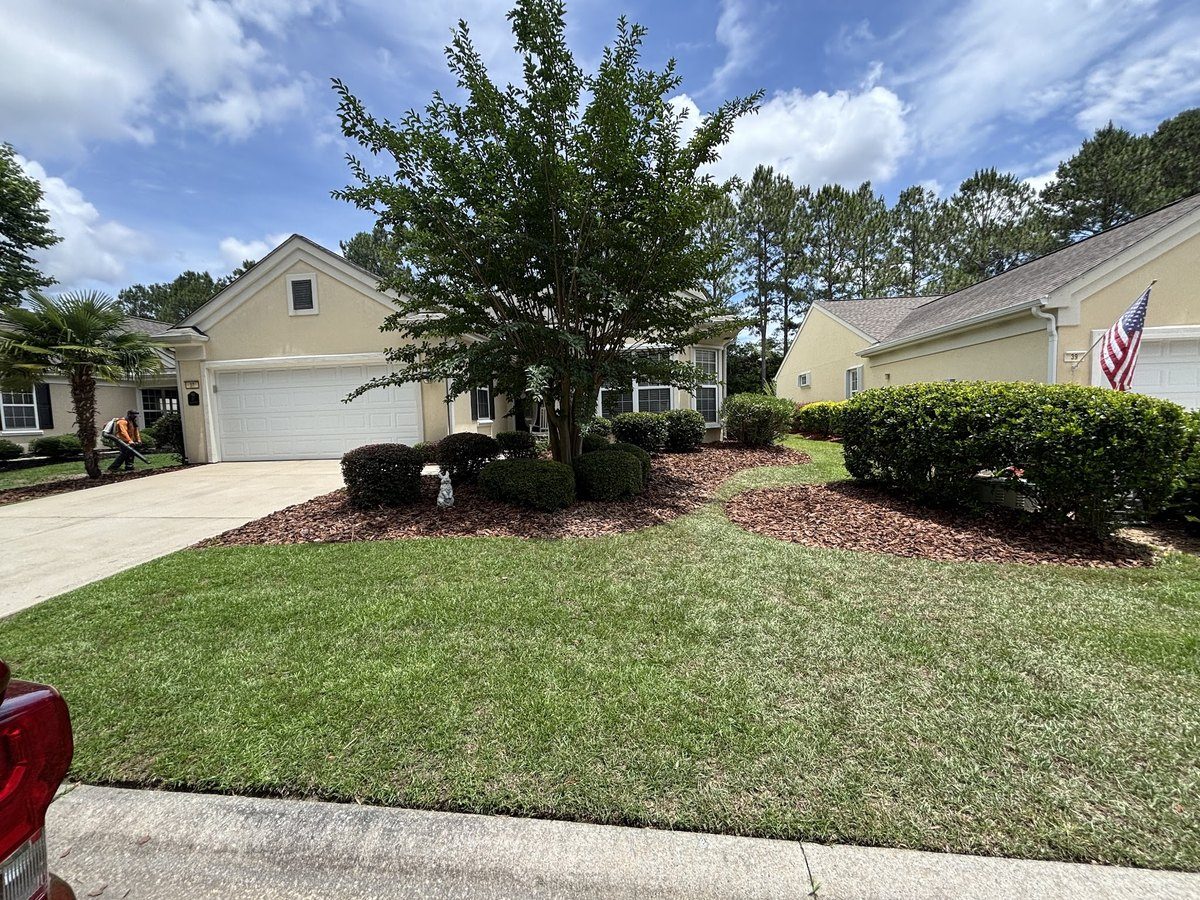
Stump grinding depth for fall re-sod is the variable that decides whether new turf survives its first winter or dies in a brown rectangle come spring. The pattern repeats every autumn: a homeowner has a stump ground down, rakes the chips flat, lays new sod over the spot, and waters faithfully for three weeks. The grass looks fine going into winter. Then spring arrives and a dead patch appears right where the stump used to be. The culprit is almost always the same, the grind was not deep enough, and the sod never made contact with real soil.
- Shallow stump grinding (under 6 inches) leaves a dense layer of woody chips that blocks sod roots from reaching mineral soil, causing new turf to fail within a season.
- For re-sodding, most turf professionals target a grind depth of 8 to 10 inches below grade, enough room to remove chips, add topsoil, and give roots a clean path down.
- Planting beds tolerate shallower grinds because perennial and shrub roots push through decomposing organic matter more effectively than grass roots.
- Fall is the right window to grind and re-sod in many climates because cooler soil temperatures help sod establish, and residual chip material left deep in the ground has months to break down before spring growth demands kick in.
- The single most important step before laying sod is verifying that the chip-filled cavity has been excavated and backfilled with real topsoil, not just raked smooth on the surface.
Understanding why depth matters takes about five minutes and is worth every second before you schedule the work.
#What Actually Happens Inside a Shallow Grind?
When a stump grinder works at a shallow setting, typically 4 inches or less below the surrounding grade, it reduces visible wood to a mound of chips and fibrous material. That material looks like mulch but behaves very differently once packed into the cavity and covered with sod.
Woody chip material is carbon-rich and nitrogen-poor. Soil bacteria breaking it down consume available nitrogen from the surrounding soil in the process, creating a localized nitrogen deficit directly beneath your new sod. This is one reason grass yellows and stalls even when you are fertilizing. At the same time, the chip layer stays loose and airy for months, so sod roots hit it and spread laterally instead of driving downward. Lateral roots do not anchor well, they dry out faster and offer no stability against foot traffic or drought stress.
Before any sod goes down, push a steel rod or long screwdriver straight into the filled cavity. If it meets no resistance in the first 6 inches, you are looking at loose chips, not settled soil. That zone needs to be excavated and replaced before sod is laid.
#What Depth Do You Actually Need for Sod Versus a Planting Bed?
Turf sod needs a minimum of 8 to 10 inches of grind depth below finished grade. After grinding, the operator excavates the chip-filled hole, which removes several inches of material. You then need at least 4 inches of quality topsoil above the remaining stump remnants to give grass roots a clear, unobstructed path into mineral soil. Work backward from that 4-inch topsoil layer and you understand why anything shallower than 8 inches below grade leaves almost no margin. You can learn more about what proper preparation looks like on our stump grinding service page.
| End Use | Recommended Grind Depth Below Grade | Why That Depth | Tolerance for Residual Chips |
|---|---|---|---|
| Lawn re-sod (cool or warm season turf) | 8 to 10 inches | Allows chip removal plus 4-inch topsoil layer for root penetration | Very low, chips at root zone cause failure |
| Planting bed (shrubs, perennials) | 4 to 6 inches | Remaining chips decompose and add organic matter over time | Moderate, woody debris breaks down and is tolerated |
Planting beds give you more room to work with because shrub and perennial roots are coarser and more aggressive. They push through decomposing organic material rather than spreading laterally along it. A little residual chip material in a bed improves drainage and eventually adds organic matter as it breaks down. That same material under sod is a slow-motion failure.
#Why Does Fall Timing Help With Stump Chip Breakdown and Sod Establishment?
Fall is the practical window for this kind of work in many regions, and the timing is not arbitrary. Microbial activity in soil does not stop when temperatures drop, it slows gradually. Chips left a few inches below grade in October still have weeks of moderate-temperature decomposition ahead of them before hard frost arrives. By the following spring, those deep remnants are noticeably softer and more integrated into the surrounding soil.
More importantly, cool-season grasses establish better in fall than in summer heat. According to the University of California Agriculture and Natural Resources cooperative extension, soil temperatures between roughly 50 and 65 degrees Fahrenheit favor strong cool-season turf root development. That window aligns with fall planting in many parts of the country, meaning sod laid after a proper grind is putting down roots at exactly the time of year it is built to do so.
Aim to have grinding and sod installation finished at least four to six weeks before your area's average first frost date. That gives new turf enough time to knit into the soil before growth slows for winter. Sod laid too late will not fail outright, but it goes into winter with shallow roots that are vulnerable to heaving.
#How Do You Prepare the Cavity Correctly After Grinding?
The grind is only step one. What happens to the cavity afterward determines whether the depth you paid for translates into a successful re-sod. Here is the sequence that works:
- Remove as much chip material from the cavity as practical. Rake it out, shovel the loose fill into a wheelbarrow, and haul it away. Do not simply grade chips smooth and call it preparation.
- Loosen the walls and bottom of the cavity with a fork or mattock so the fresh topsoil you add can make contact with the surrounding native soil.
- Backfill with quality topsoil, not wood chips mixed with a thin layer of soil on top. Tamp lightly in 2-inch lifts to prevent excessive settling later.
- Crown the filled area slightly above surrounding grade to account for settling. A low spot after settlement becomes a water-collecting dead zone.
- Lay sod, press it firmly into contact with the backfill, and water deeply on day one to collapse any remaining air pockets.
This process requires more labor than most homeowners expect when budgeting for stump grinding alone. The grinding is often the faster part. Excavation, chip removal, and proper backfill take longer and require more material than the grind estimate alone covers. Once the area is properly prepared, professional sod installation ensures the new turf is laid with the right technique and soil contact from the start.
#Is It Worth Grinding Deeper Even If It Costs More?
Grinding deeper costs more in machine time and sometimes requires a larger grinder. A standard residential grinder can typically reach 8 to 10 inches without difficulty on stumps with a modest diameter. Larger stumps with wide root flares take longer at any depth setting, so the price difference between a 4-inch and a 10-inch grind is real but not dramatic for most residential stumps.
Compare that to the cost of re-sodding twice. Sod for even a modest removal area adds up quickly when you factor in material, soil amendment, and labor. Doing it twice because the first attempt failed over a shallow grind is one of the more avoidable expenses in landscaping. The deeper grind almost always costs less than the failed re-sod it prevents.
For homeowners in the area served by Coastal Bloom Landscaping, fall is also a logical window because mild coastal conditions often extend the planting season further into autumn than in inland regions. That extra time is worth using correctly.
#Common Questions
Can I just till the wood chips into the soil instead of removing them?
Tilling chips in spreads the problem rather than solving it. The nitrogen draw-down effect that causes chips to starve surrounding grass of nutrients happens throughout any zone where chip material is present. Spreading it over a wider area just creates a larger dead zone. Remove what you can, then backfill with clean topsoil.
How long do wood chips take to break down completely underground?
Coarse stump chip material at several inches below grade can take two to five years to fully decompose, depending on chip size, soil moisture, and temperature. Surface chips in a mulch bed break down faster because they have more oxygen and are worked by surface-dwelling organisms. Buried chips in a dense mass are slower, which is why you cannot count on decomposition to save a shallow grind before your sod needs to root.
What if the stump area shows a depression after the sod is already down?
A settling depression usually means chips are compressing as they begin to decompose. If the sod over it is still alive and the dip is modest, topdress with quality topsoil to bring the level up and overseed any thin edges. If the sod is dead in that spot, you will need to lift it, excavate the remaining chip material, re-grade with topsoil, and relay. Fall is a reasonable time to do that repair work for the same reasons it is a good planting window in the first place.
Does the species of tree affect how deep you need to grind?
Yes, in a practical sense. Hardwood stumps like oak or maple produce denser chips that break down more slowly than softwood species like pine. A shallow grind on an old oak stump leaves material that resists decomposition longer, making it more likely to interfere with sod roots over multiple seasons. For dense hardwoods, erring toward the deeper end of the recommended range is worth the extra machine time.
If you have a stump coming out this fall and want the area re-sodded properly, Coastal Bloom Landscaping LLC is glad to walk through the process with you before any work starts. A quick conversation about grind depth and cavity prep before the machine arrives saves a lot of frustration come spring.