
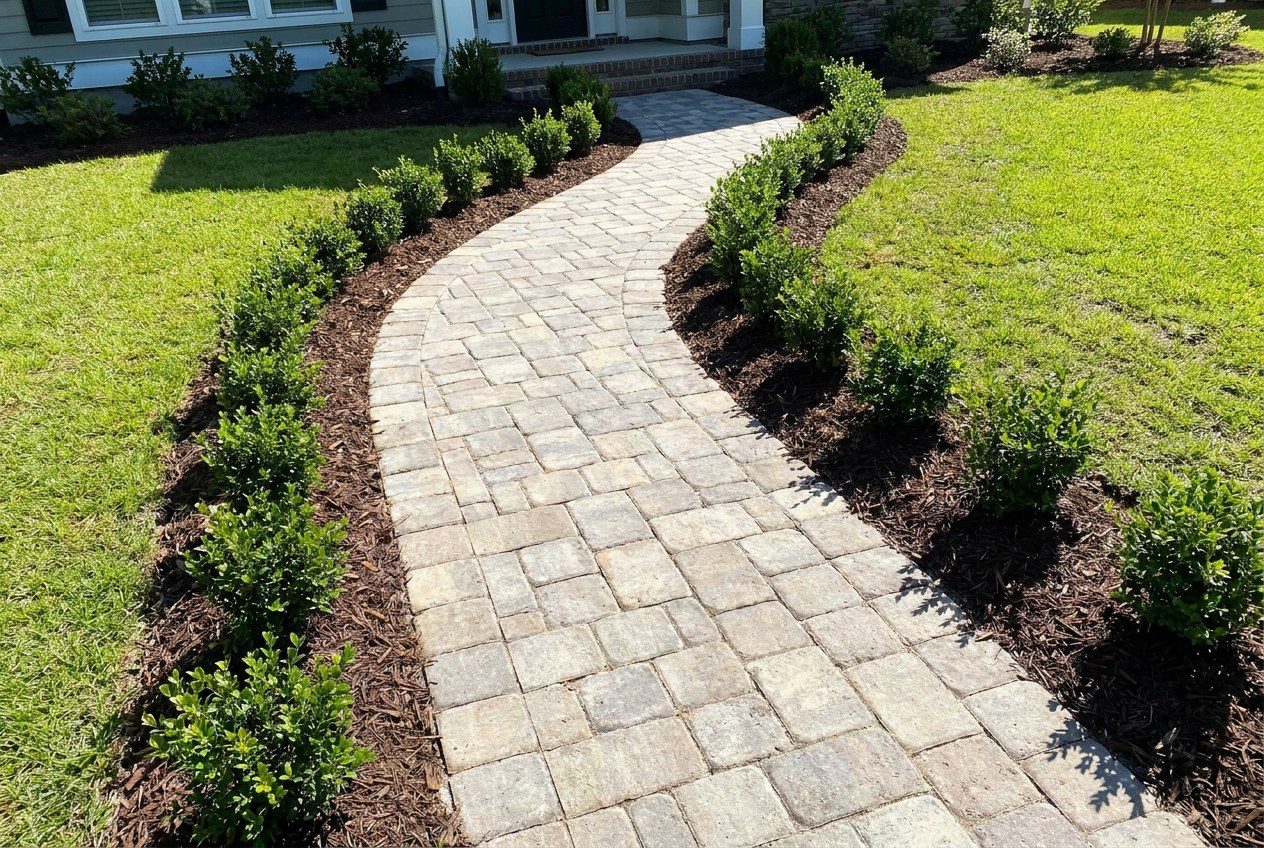
Getting fall landscaping project sequencing and soil compaction right is the difference between a landscape that thrives and one that looks fine from the street while silently failing underground. You have picked out the shrubs, priced the stone for the new path, and scheduled the mulch delivery. The plants are sitting in their nursery pots on the driveway. But if the work goes in the wrong order, you can spend a full fall weekend improving your landscape and leave it in worse shape than you found it, at least underground, where it counts.
Soil compaction is the problem nobody photographs. The bed looks fine from the street. The mulch is fresh and even. But underneath, the soil particles have been pressed together by foot traffic, equipment, and wheelbarrow loads until water cannot drain and roots cannot push through. Plants struggle, not because they were the wrong choice, but because the ground they were planted in had already been ruined before they went in.
Getting the sequence right costs nothing extra. It just requires doing things in a specific order, and understanding why that order exists.
#Why Is Fall a Good Time to Install Landscaping?
Fall is one of the most productive planting windows in the calendar year because root growth continues after air temperatures drop, even when the top of the plant looks dormant. According to the Penn State Extension, trees and shrubs planted in fall have the advantage of establishing root systems before the demands of spring growth hit. Cooler soil temperatures also reduce moisture stress on newly transplanted material.
For homeowners along the coast, fall brings a practical advantage as well. Summer heat and humidity can stress plants during the critical first weeks after transplant. A fall install in a coastal climate often means moderate temperatures, more reliable soil moisture, and less competition from weeds that slow down as daylight shortens.
The goal is to get plants in the ground with enough time before a hard freeze for roots to take hold. In most coastal climates, that window runs well into November. Check your local average first-frost date and work backward from there.
#What Is the Correct Order of Operations for a Fall Landscape Install?
The right sequence moves from destructive work to precise work, and from heavy to light. A well-planned landscape design and installation should follow this order, and each step sits where it does for a specific reason.
#Step 1: Rough Grading and Drainage
Any grading, regrading, or drainage work happens first. This is the most disruptive phase. Equipment moves soil in bulk, slopes are adjusted, and low spots that collect water are corrected. You cannot do this after planting without destroying plants. You cannot do it after hardscape without risking damage to new materials. It goes first, full stop.
#Step 2: Hardscape Installation
Patios, walkways, retaining walls, edging, and any structural stone or paver work come next. This phase involves the heaviest equipment and the most concentrated foot traffic. A paver base requires compaction, deliberately, mechanically, on purpose, and that compactive force does not stay neatly under the paver. It radiates outward. Any amended planting bed within a few feet of active hardscape work will feel that pressure.
#Step 3: Soil Amendment of Planting Beds
Once the hardscape is set and equipment is off the site, beds get tilled and amended. Compost, organic matter, and any needed pH corrections go in now. This is the step that creates the loose, aerated structure roots need. It is also the step most vulnerable to being undone. A single crossing with a loaded wheelbarrow can compress amended soil significantly. From this point forward, every person on site should step around beds, not through them.
#Step 4: Planting
Trees, shrubs, perennials, and groundcovers go in after amendment and after all hardscape is done. Work from the back of a bed toward an access point so you are never stepping over already-planted areas. Use boards or staging planks if you need to kneel or reach into a large bed.
#Step 5: Mulch
Mulch is the final layer. It goes on last because it needs to settle around the base of plants at the correct depth, typically two to three inches, without burying crowns or stem flare. Mulching before planting and then trying to dig through it disturbs the layer and often results in mulch being piled against trunks, which holds moisture against bark and invites rot. Proper planting and mulching technique is as much about sequencing as it is about materials.
| Phase | Compaction Risk to Adjacent Beds | Correct Position in Sequence | Common Mistake |
|---|---|---|---|
| Grading and drainage | Very high, heavy equipment in motion | First | Doing it after planting to "touch up" grade |
| Hardscape (patios, paths, walls) | High, plate compactors, material staging, foot traffic | Second | Planting near the hardscape zone before work is complete |
| Soil amendment | Low if protected afterward | Third | Amending too early and then driving wheelbarrows over beds |
| Planting | Low with proper staging | Fourth | Stepping through bed to reach far areas |
| Mulch | Minimal | Last | Mulching before plants are placed |
#How Can You Tell If Soil Is Already Compacted Before You Start?
A simple probe test tells you a lot. Push a screwdriver or a thin metal rod into the soil by hand. In healthy, workable soil it should slide in several inches with moderate pressure. If it stops at an inch or two, or if you need to hammer it, the soil is compacted and will need amendment before anything is planted.
You can also watch what happens after rain. Water that pools on the surface for a long time, rather than soaking in, is a sign that the soil below is dense and not draining. Plants installed into that condition without correction will sit in saturated soil after every rain event, regardless of how well-suited the plants themselves are.
Some compaction in high-traffic areas like lawn paths is expected and not necessarily a problem for turf. It becomes a serious issue when it occurs in dedicated planting beds, especially after amendment work has already been done. If your beds drain well and the screwdriver test passes, you may not need deep tilling at all, just a few inches of compost worked into the top layer can be enough for perennials and smaller shrubs.
#Does the Size of the Project Change the Sequence?
The scale changes the stakes, not the logic. A small backyard project with a single paver landing and a few shrubs follows exactly the same order as a full front-yard renovation. The difference is that on a larger project, the gap between